I started out by making the largest shape in the phone's silhouette. I did this by placing a plane and extruding its edges upward.
I moved on to the rest of the phone's main body. This shape was fairly simple to crate using Maya's 'soft select' tool. I merely created a cylinder, then squeezed it inwards.
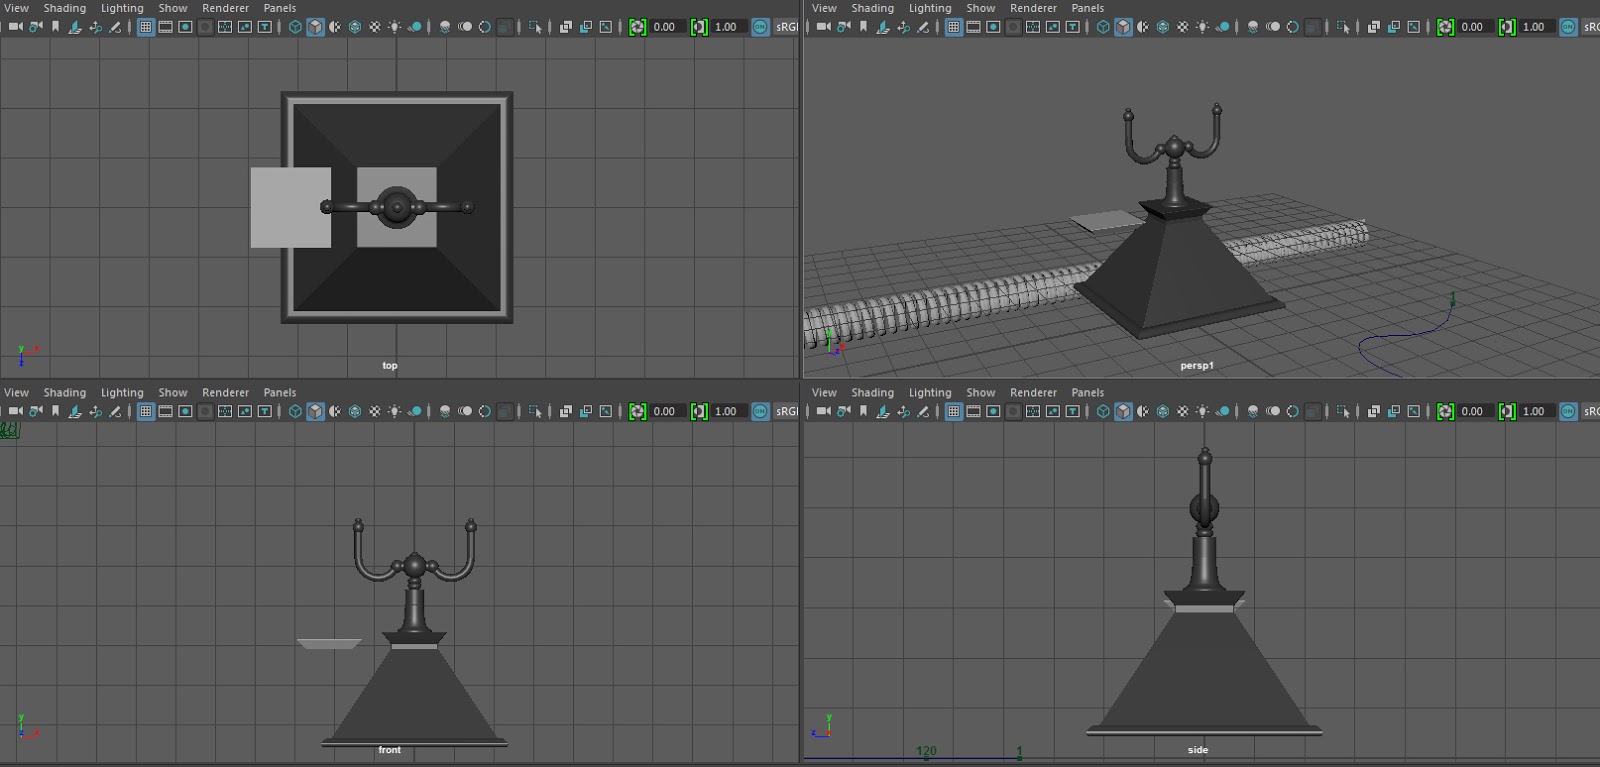
After learning how to create a complex shape like a helix in one of my workshops, we then learned how to attach it to a path. This was a great way to create a phone cable.
I fiddled around with this for quite some time, as I couldn't quite grasp the details at first. Whilst learning to understand this I started on the curved cylindrical shapes, for this I used the same method as with the helix. I created a cylinder and attached it to a path, I had previously tried to use a taurus shape and remove faces to create this shape; but ended up with a
much rounder and less 'pipe-like' shape.
After learning how to animate a helix along a path I applied a dark grey blinn material to my mesh. This wasn't for a specific reason other than that it looked cooler. When my work looks cool it gives me more drive to make it even cooler!
I began modelling the phones dial, which was immensely time consuming. I used a method of modelling learned in my 'Advanced Modelling' workshop. This was to create a thin cylindrical shape and delete the upper and lower faces; then create indents by pushing inwardly some circular faces and lowering them into the cylindrical loop. The objects are combined,
the gaps between the faces are bridged (using the aptly named 'bridge' tool). After modelling the dial's more basic shaped I moved on to the rope like pattern. This seemed like an impossible task for me at first, but I used a simple solution. I flattened half a taurus shape and then centred its pivot in the middle of the dial, this enabled me to duplicate and drag the shape around
in a circular motion to create the rope-like effect.
The handle was fairly simple, using soft selection and extrusions I added and subtracted from a cylinder. I was quite happy with how quickly this came together.
The rolling pin shape sits atop my mesh.
I was perplexing for some time over how to proceed with this mesh, there were some fairly complex areas of detail on either side of the phone's handle.
I added a sphere the left side of the handle and stretched it around until it was the correct shape.
Making the phone's earpiece and mouthpiece was absolutely draining. The earpiece was particularly hard to create as it has a curved shape that gets increasingly larger as it curves. Using extrusion and soft selection I got there eventually.
These detail shots of the dial showcase the rope pattern perfectly, in my opinion it's a nice touch on an otherwise relatively uninspired mesh.
The finished model, with wire.
 |
| Reference image |


No comments:
Post a Comment