Pylon final maps
My final normal map, though simple, I nailed the look I was going for when I set out.
Ambient Occlusion map from Xnormal. This didn't really contain enough information to correctly define the model.
Using Quixel I converted my normal map to an AO map and then used the AO map from Xnormal as an overlay, the result on the left.
Diffuse map, I used this as a guide for my albedo map, which was to be quite simple in design.
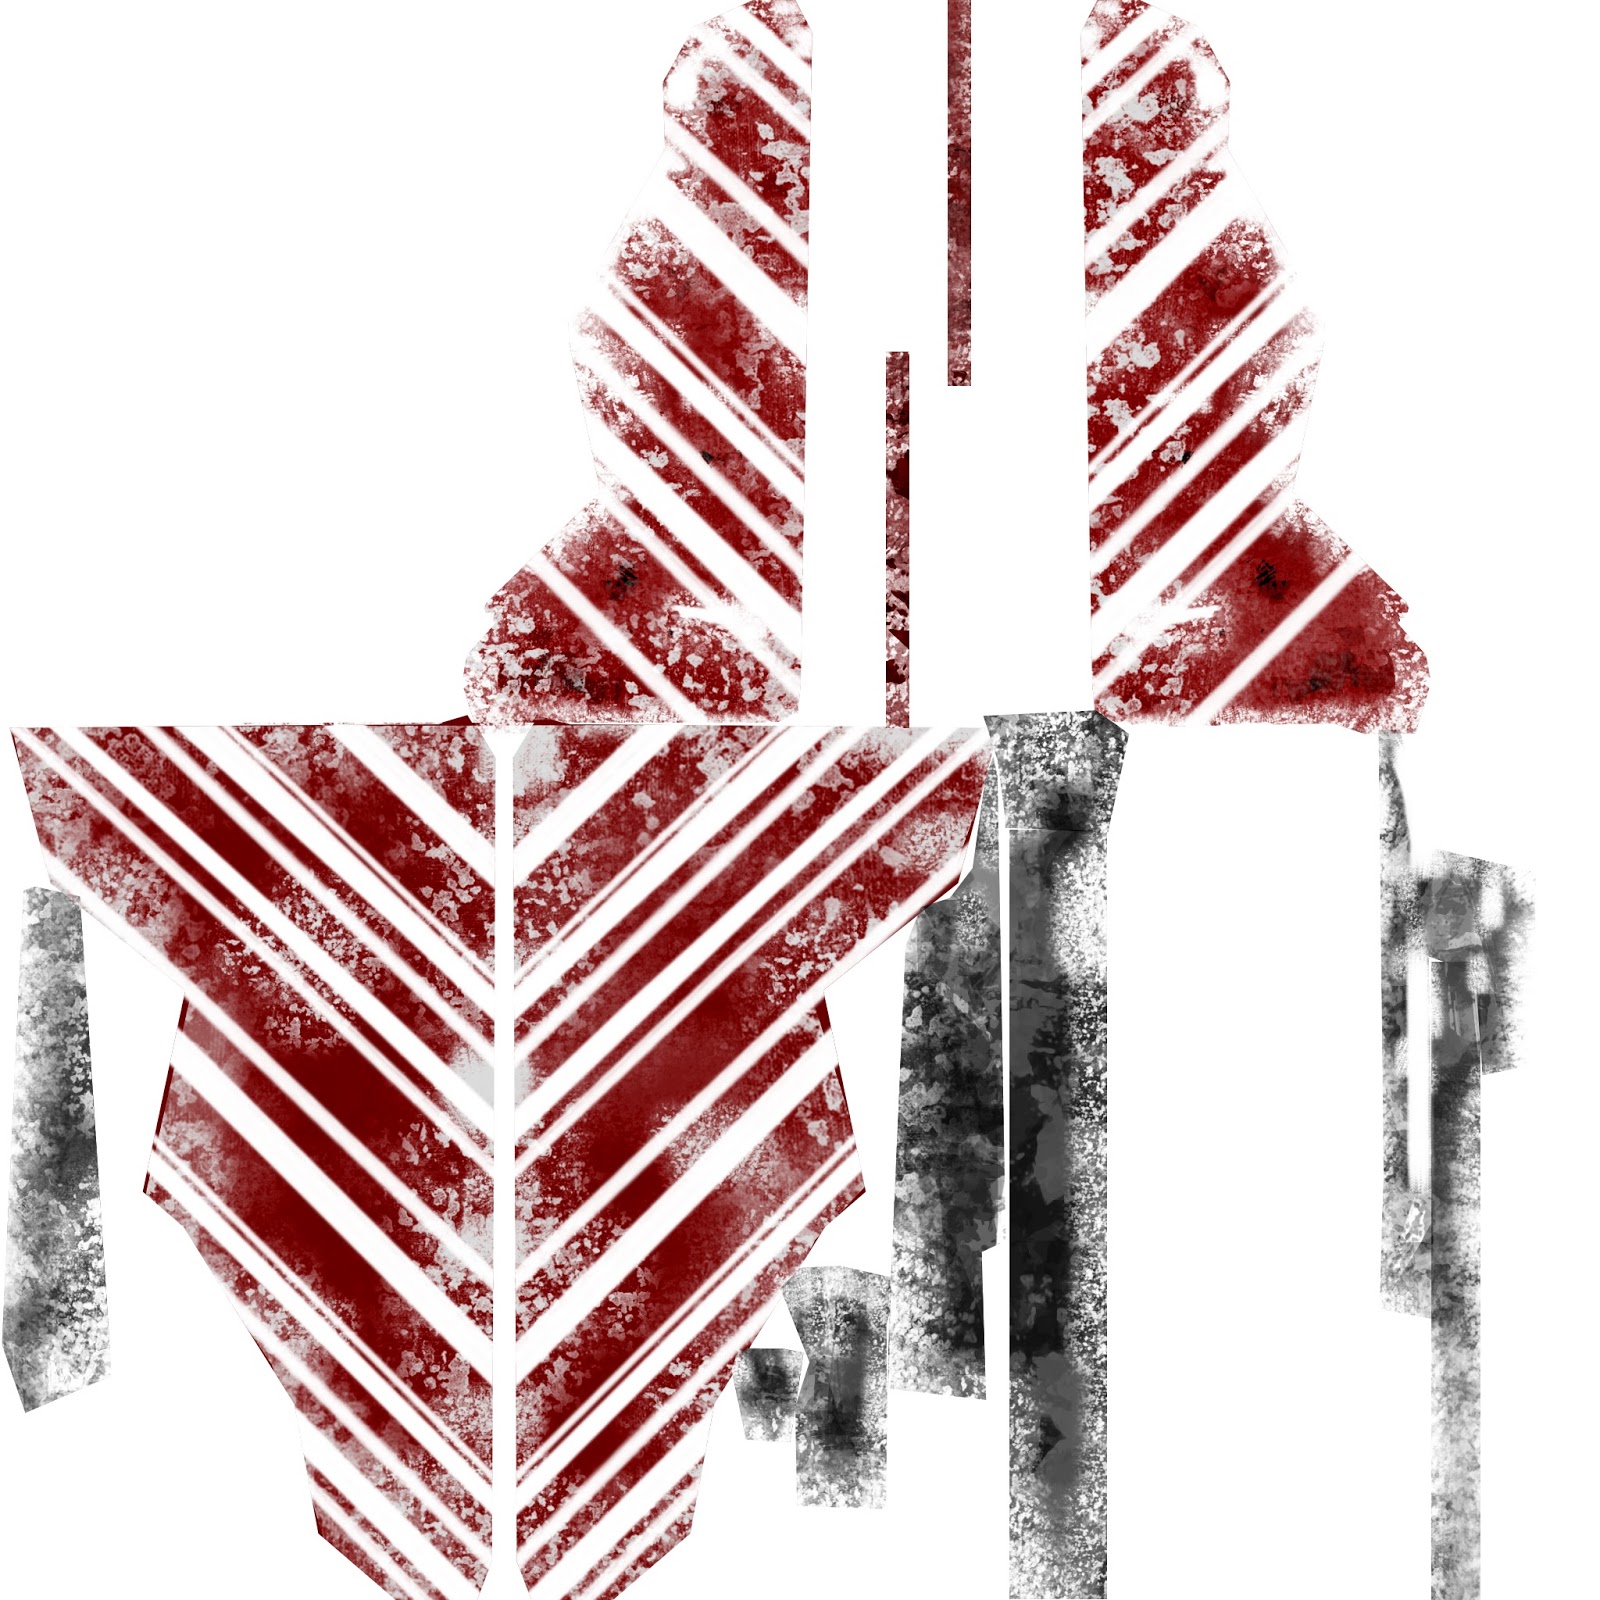
Using a brush that I had designed in a digital painting workshop I applied large red stripes. I then worked into these stripes using the eraser tool, edited the layers overlay settings and opacity change.
This is my finished albedo map, wherein I also applied black paint to some sections of the model.
My Metalness and Roughness maps. With this model anything that wan't metallic was rough, which was a boon when designing these maps as I needed only to invert the metalness map to create the roughness map.
An unused Emissive map. I was trying to apply something similar to LED strip lighting, this didn't look quite like it fitted on my model, though.
Specular map, created by converting normal map into specular in Quixel. This worked really well and helped my model look as good as it does.
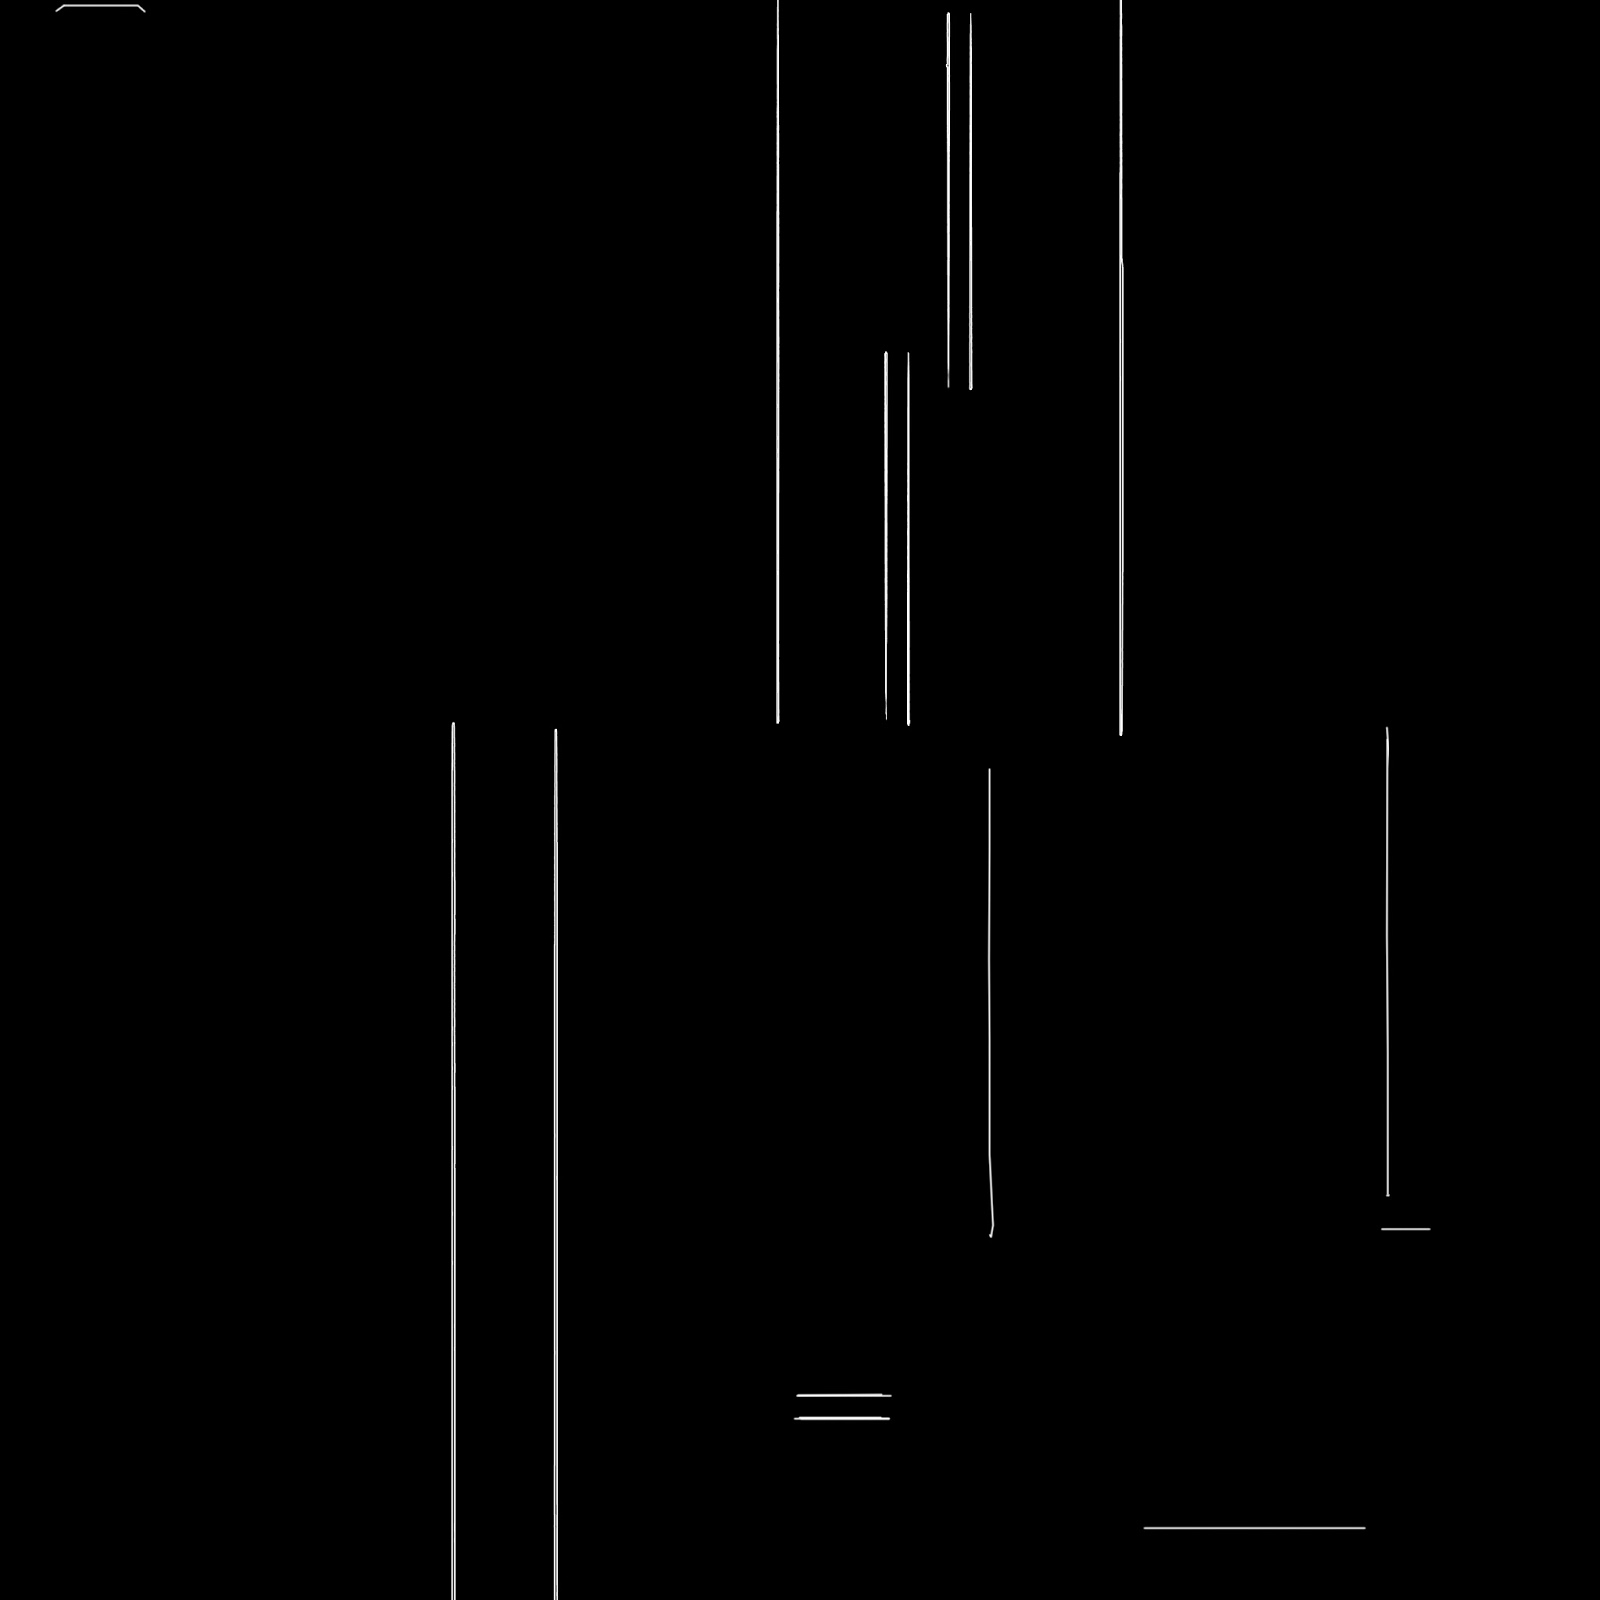
We do not speak of the height map.
Object space map (unused)


No comments:
Post a Comment