BA1b submission details:
Primitive modelling
Lamp
Barrel
Phone
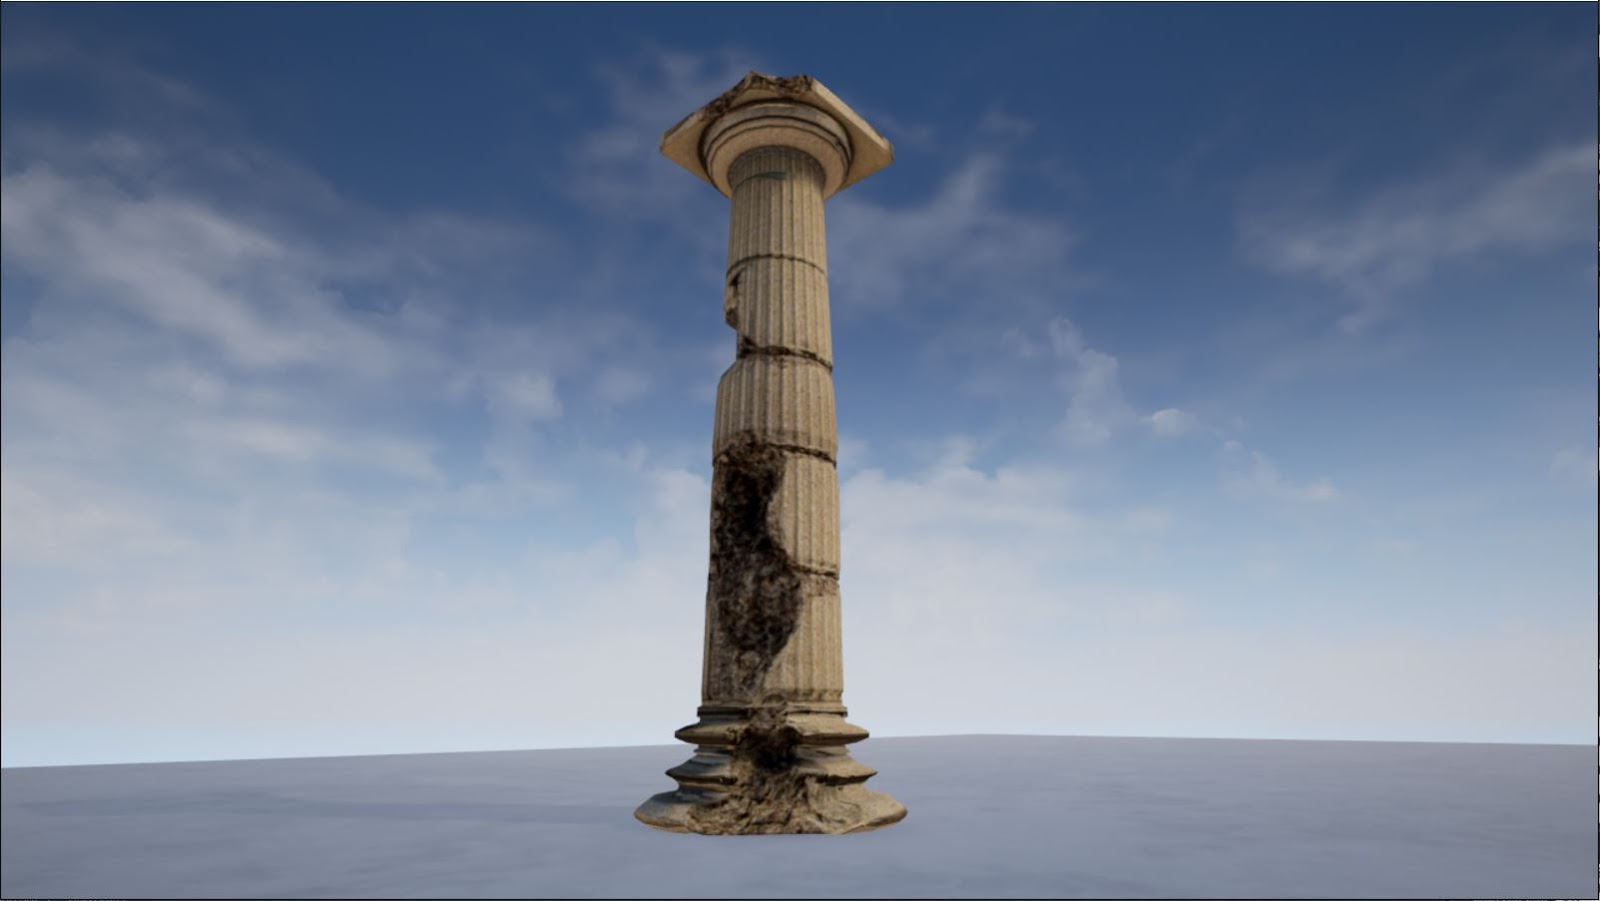
Pillar
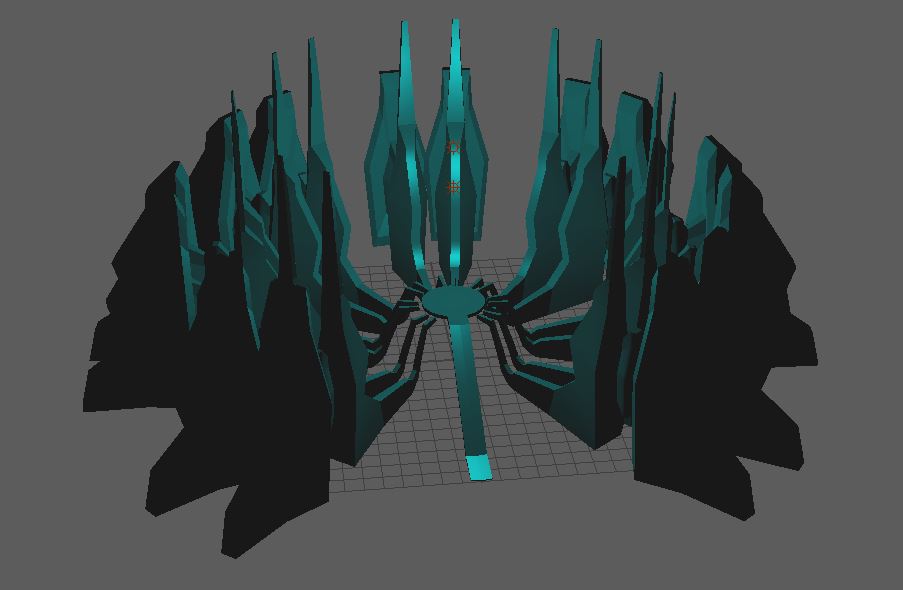
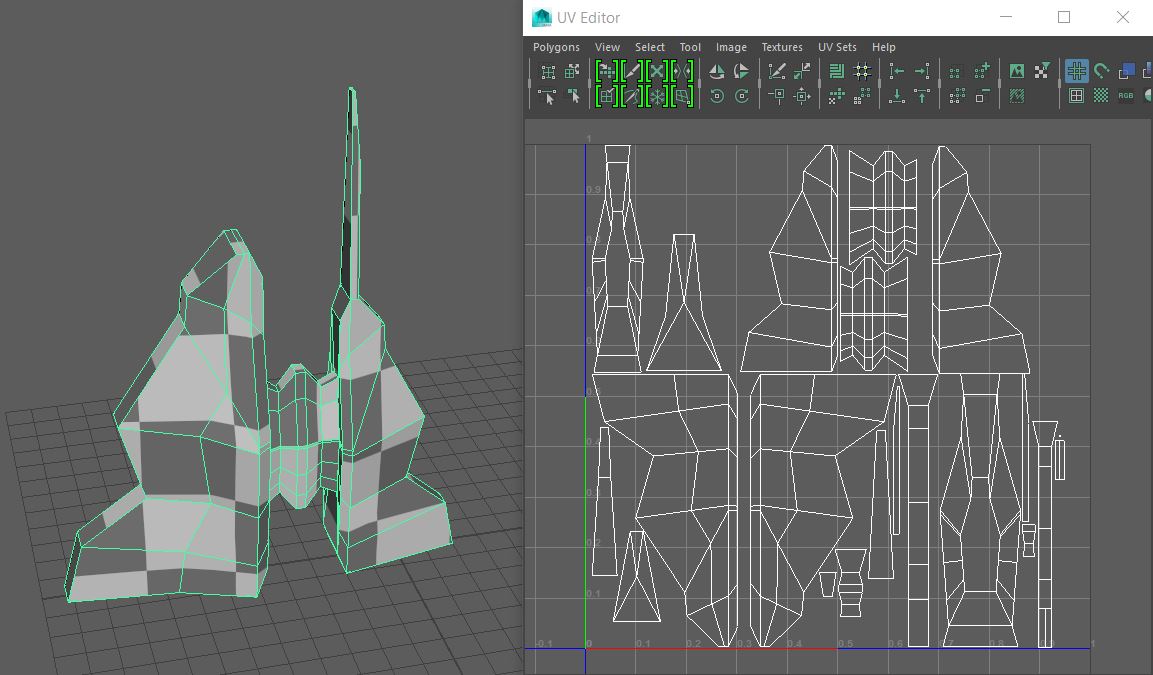
Time Machine
01_development_fse.pdf
Final renders of tasks 1-4 screenshots
Lamp 1
Lamp 2
Barrel
Phone
Pillar
(Personal work in miscellaneous folder)
02_assets_FSE.pdf
Final renders of task 5 screenshots
Time Machine
03_turntable_task_#_fse.mov
Turntable renders of task 4&5
QuickTime (h264) // 1920x1080 // 25fps // 10 seconds maximum each
04_journal_fse.pdf
Research posts
Weekly summaries
Critical evaluation
Include blog URL on page
*Talk about issues and how you overcame them, mention research used to assist (YouTube tutorials, Google searches, forum posts). Limitations and stuff.
*Remember to do concise weekly summaries, ask coursemates for advice on this.
Marmoset_fse (folder)
Contains toolbag scenes (.tbscene)
Texture atlases for task 4&5
UE4 scenes *optional* be submitted here
Task4_Normal
Task4_Albedo
Task4_Specular
Task4_AO
Etc.
(Put obj/fbx of task 4&5 in folders just in case)
05_presentationSlides_fse.pdf
Submit your slides from the group presentation
06_gameStudies_fse.pdf
Submit your essay
07_selfevaluation_fse.pdf
Submit a completed 'BA1b self-evaluation form' - available on the VLE
*Submission at 14:30 in Media Lab (MO21) - get everything finished for Wednesday!
LO5 - demonstrated through blog
LO6 -
LO7 -
LO8 -
LO9 -
LO10 -